"Stone Art – Part 2 How to Make Stones Speak Through Art"
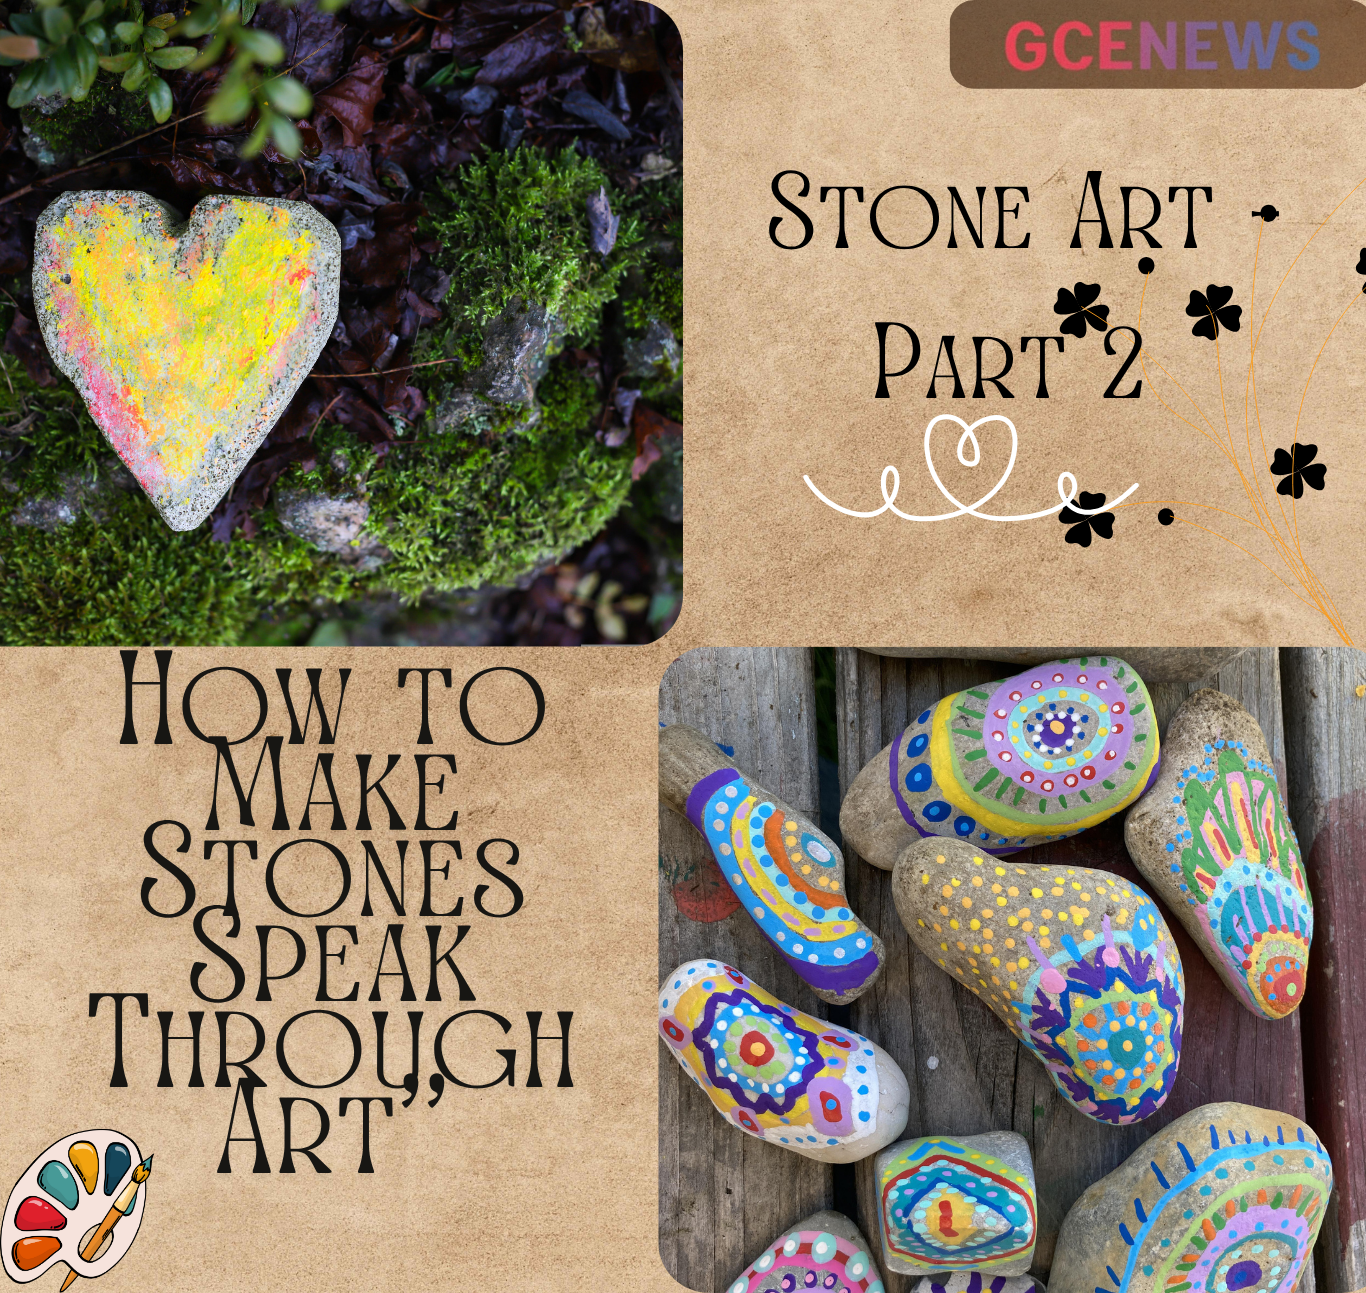
Stone Art – Part 2: When Ordinary Stones Start Telling Extraordinary Stories
Hi guys, I am your writer and well-wisher!
Do you remember how, in Part 1, we discovered that stone art is not just about decorating pebbles but about creating memories, stories, and emotions that remain timeless? Today, in Part 2, we will dive deeper into the world of stone art—exploring its emotional side, the step-by-step techniques you can try, the modern trends ruling the art world, and why stone art feels like therapy for many.
1) Stones Carry Memory, Not Just Texture
A stone is a time capsule. It has survived rivers, heat, wind, maybe years of human footsteps. When you paint on it, carve it, or simply write a word on it, you are adding your little chapter to a story that started long before you. That’s why stone art feels so grounding and intimate.
A tiny pebble painted with a heart can become a keepsake.
A flat stone with a mandala can bring calmness to a desk.
A stone with a quote—“Breathe. Begin. Believe.”—can sit on a study table and silently motivate someone every day.
Art on paper may fade and get lost, but art on stone has weight—literally and emotionally.
2) Choosing the Right Stones (Because Not Every Stone Is Ready for Art)
You can create art on almost any stone, but if you want quality pieces that last:
- Look for smooth, flat stones for mandalas, lettering, or intricate patterns.
- Rounded pebbles are perfect for small doodles, quotes, tiny floral paintings, and mini-illustrations.
- Porous stones can absorb more paint—good for textures, but they’ll need a stronger base coat and sealant.
- Avoid stones from protected or restricted natural areas. Be ethical. Collect from legally allowed public spaces or buy river stones/garden stones from local stores.
3) Prepping the Surface: The Step Most Beginners Skip
If you jump straight to painting, your colors may chip, bleed, or look patchy. Preparation is half the art.
Clean – Wash the stones with soap and water. Scrub gently to remove dust, algae, or oil. Let them dry completely.
Sand (optional but useful) – Use fine-grit sandpaper to smooth rough spots.
Prime – A thin coat of white acrylic gesso or white acrylic paint creates a consistent base, especially for dark stones.
Drying Time – Let every layer fully dry. Rushing is the easiest way to ruin crisp lines.
4) Techniques to Level-Up Your Stone Art (From Easy to Advanced)
a) Acrylic Painting
The most versatile technique. Use synthetic brushes, fine liners, and dotting tools. Acrylics dry fast, layer well, and are perfect for bold colors.
b) Dot Mandala Art
Hypnotic, calming, and unbelievably satisfying. Use dotting tools or even the back of paintbrushes, toothpicks, or nails to create dots of different sizes. Work from the center outward.
c) Marker Lettering & Doodles
Permanent markers, paint markers, and fine liners (Micron, Posca-type pens) are fantastic for clean outlines, quotes, Zentangle patterns, or quick doodles.
d) Carving & Etching
If you’re patient and comfortable with tools, try Dremel or small carving tools. Start with initials, symbols, or geometric cuts. Always wear a mask and goggles—stone dust isn’t friendly.
e) Metallic Leafing / Foiling
Apply adhesive, press gold/silver leaf onto the design, and seal it. Instant “gallery” look.
f) Resin Finishing
For ultra-gloss, super-durable finishes—especially for coasters or paperweights. Resin makes colors pop like wet stones.
g) Mixed Media
Attach tiny dried flowers, micro shells, beads, or micro mirrors. Stone becomes sculpture.
5) A Mini Design Library (Steal These Ideas and Make Them Yours)
- Mandalas for meditation corners
- Botanical line art with muted greens and blacks
- Bold typography (“Hope”, “Create”, “Breathe”) on flat stones
- Chakra-inspired color sets
- Zentangle patterns for mindful doodling
- Festival specials – Diya-stones, rangoli-stones, Rakhi-themed gifts
- Kids’ story stones – Paint characters, objects (stars, trees, animals), and let kids make their own stories
- Pet portrait stones – A huge hit among pet owners
- Minimalist negative-space stones – paint only part of the stone; let nature show
6) Three Hands-On Projects (Follow-Along, No Fancy Tools Needed)
Project 1: Mandala Meditation Stone
- Prime the stone white.
- Mark a tiny dot in the center with a pencil.
- Use dotting tools (or back of brushes) and acrylic paints. Start with the smallest dot in the center, expand symmetrically.
- Keep a damp cloth ready to clean mistakes instantly.
- Seal with a matte or satin varnish.
Project 2: Waterproof Stone Coasters
- Take broad, flat stones. Sand the top gently.
- Paint your design (floral, geometric, or black-and-white minimal).
- Let it dry. Use clear resin or polyurethane varnish to seal.
- Stick cork or felt at the bottom to avoid scratches on tables.
Project 3: Story Stones for Kids
- Collect 12–20 small pebbles.
- Paint simple icons: sun, moon, tree, bird, house, child, cat, rain, car, kite, star, river.
- Give them to a child and ask them to narrate a story by picking stones randomly. Creative exercise + screen-free play!
7) Finishing & Sealing: The Invisible Hero
Your finishing decides whether your art survives a week or a decade.
- Matte Varnish – Modern, subtle, professional.
- Satin Varnish – Balanced sheen, crowd-favorite.
- Gloss Varnish – High shine, looks like it’s always wet. Great for bold designs.
- Resin – For heavy-duty pieces (coasters, paperweights, key art pieces).
- UV Protection – If your stones live outdoors, pick a UV-resistant sealer.
Always seal after paints and markers are 100% dry. Do 2–3 thin coats instead of one heavy coat.
8) Common Mistakes (And Exactly How to Fix Them)
Paint peeling off?
– Stone wasn’t cleaned or primed. Wash, dry, prime, and repaint.
Colors look dull after drying
– Acrylics dry slightly darker. Do a second layer. Seal with a gloss coat for vibrance.
Markers bleeding on the stone
– Use a primer first. Then apply marker. Seal with a spray sealant; don’t brush—brushing can smudge ink.
Resin bubbles
– Warm the resin slightly and use a heat gun or hairdryer (on low) to pop bubbles.
Uneven mandala dots
– Practice on paper first. Use consistent paint thickness. Clean your dotting tool after every few dots.
9) Sustainability & Ethics (Because Good Art Should Also Be Good for the Earth)
- Don’t pick stones from restricted areas, heritage sites, rivers with legal protection.
- Prefer non-toxic, water-based paints & varnishes when possible.
- Upcycle: old construction stones, garden rejects, leftover broken tiles for mosaic art.
- Educate your family and friends: your art is natural, handmade, durable, and mindful.
Final Thought: Let Stones Speak Through You
Stone art is less about perfection and more about transformation—of the stone, and of you. You start for fun, you continue for peace, and one day, without noticing, you discover your style. That’s the day you stop asking “Am I good enough?” and start saying, “This is who I am.”
In Part 3, we will explore how to turn your stone art into a unique personal collection and display ideas—something that feels like your own art gallery at home.